TL;DR - This post discusses and provides code samples for how we use React components to create our email templates.
The beauty of React.js is in the reusability and composition of components. Components are encapsualted pieces of UI that can be composed to build larger interfaces. At Assertible we use React.js for pretty much everything that you see: website pages, the entire dashboard, our email templates, and even this blog!
Emails are tough, so this post hopes to give a few pointers on how you
can apply style attributes (for example, <p style={{...}}>) as well
as classes (eg, <p className="..") to your React components, which
allows for consitent rendering across email clients. Note that a lot
of the information below is specific to
webpack and
babel.
The problem with emails
If you've ever written email templates, you know the pain of trying to
get a consistent output in different email clients. Some will recognize
<style> tags, while others will strip them; some require inline
styles while others we still have no idea what they want.
This post provides an approach for using React.js components to create
a module that be rendered to static markup (renderToStaticMarkup)
and used in emails while keeping a consistent render output across
clients. I won't cover all the caveats of email client's here, but if
you're interested
MailChimp has a good overview on the topic.
The goal output
In order to have a good output across email clients, we want to have
our final markup contain both style attributes and class
attributes. The class attributes are optional, since all the styles
are inline as well, but I've found that it prevents some corner cases
and it doesn't add too much bloat.
Implementation
Now that we know we need both style attributes and classNames, we
can come up with a goal before and after output for our markup.
This can be improved, of course, but ideally we can use the JSX spread operator to apply everything we need to an element at once. Something like this will work:
Before
<p {...style(['.text-muted', '.pull-xs-right']}>
  ...
</p>
The style function will take a list of 'classes' (classes that
should be found within a CSS file -- more on that below), and apply
both the styles and classes to our element:
After
<p class="text-muted pull-xs-right" style="color: gray; float: right">
 ...
</p>
With this approach we can guarantee a consistent render output across email clients. Gmail will be happy with the inline styles, and all the other clients will use whichever they prefer, classes or inline style attributes.
Let's go over the style function and what's happening:
style( Array<string> ): Object
The style function provides most of the functionality for applying
the styles. Here is the entire code for style module (comments are
important):
const bootstrap = require("/path/to/bootstrap.css")

export const applyStyle = (selectors, style = {}) => {
    // Our 'className' will be appended here
    let className = ""

    // For each 'selector' provided (eg '.pull-xs-right'), look up
    // the styles in the stylesheet. 'inline-style-loader', described
    // more below, is how we query the stylesheet.
    for (const key in selectors) {
        const slctr = selectors[key]
        const rules = bootstrap[slctr]
        // If CSS rules exist for this selector, add them to
        // 'className' and 'style'.
        if (rules) {
            const styles = rules.split(";")
            for (const key_ in styles) {
                const [attribute, value] = styles[key_].split(":")
                const attr = attribute.replace(/-([a-z])/g, g => g[1].toUpperCase())
                // add key/value to the 'style' object
                style[attr.trim()] = value.trim()
            }
        }

        // Append selector to className
        className += ` ${slctr.substr(1)}`
    }

    // Return an object that can be spread directly onto a component.
    return {
        style,
        className,
    }
}
If the comments don't provide enough info, the basic gist is: style
takes an array of class names and returns an object with style and
classNames ({ style, className }) that can be applied directly to a
React component. The class names arguments are looked up in a style
sheet (bootstrap in the example above) that is imported with
inline-style-loader (discussed more below).
We now have a function that does this:
const styles = style([".pull-xs-right"])
// {
//   className: "float:right;",
//   style: { float: 'right' },
// }
inline-style-loader
If you're wondering how we're able to query the CSS file as a JSON
object to get access to styles, that is due to
inline-style-loader.
This webpack loader allows you to import a CSS file and access it as a
JSON object.
One problem is that inline-style-loader will also format the styles
to be used in a style _attribute (style="..."), so in the style
function we have to to some string splitting.
inline-style-loader can be added to your webpack config like this:
module.exports = {
    // ... the rest of your config
    module: {
        loaders: [
            // ... the rest of your loaders
            {
                test: /bootstrap.css$/,
                loader: "raw!inline-style",
            },
        ],
    },
}
Wrapping up
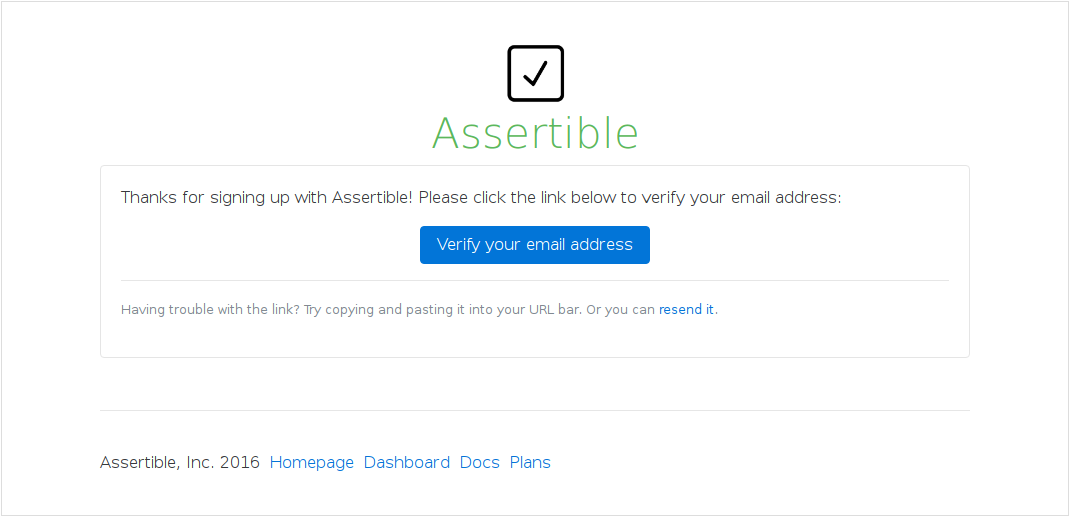
Using this method has been successful for us so far. We use this for all of our emails sent from the dashboard as of now. Here's an example signup email rendered in Gmail:
Try it out
Teams and individuals use Assertible to test and monitor production web services, create scheduled assertions, and gain confidence in crucial infrastructure. Sign up for a free acount today.
Assuredly yours,
Cody Reichert
Categories
The easiest way to test and
monitor your web services
Reduce bugs in web applications by using Assertible to create an automated QA pipeline that helps you catch failures & ship code faster.
Recent posts
Tips for importing and testing your API spec with Assertible 05/26/2020
New feature: Encrypted variables 10/30/2019
New feature: Smarter notifications 5/17/2019